Q1 – Are you holding a gray or black remote control?
If Yes – Proceed to Q2.
If No – Proceed to Q6.
Q2 – You have an Infrared remote control. Are you trying to operate the remote close to the robot, facing with the remote control to the back side of the robot? (less than 16.5ft/5m distance).
If Yes – Proceed to Q3.
If No – Please use the remote control in the Infrared range of the robot, which is about 5-6.5ft (1.5-2m) from the back side of the robot. If the problem still persists, proceed to Q3.
Q3 – Does any button pressed on the Infrared remote control cause the robot to react?
If Yes – The robot reacts to the remote commands, but one or more buttons on the remote is/are not functioning. Replace the batteries in the remote control. If the remote control still does not function well, a new remote control will need to be sent to you.
If No – Replace the batteries in the remote control and try again to command the robot. If the remote control still does not cause the robot to react, proceed to Q4.
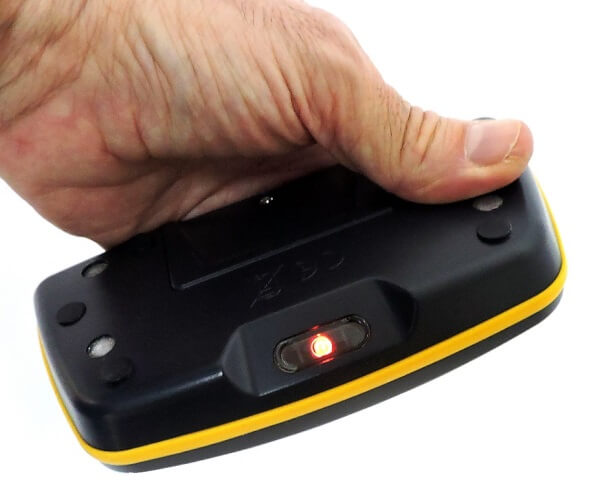
Q4 – Take a digital camera or open the camera application on your smart device. Look at the LEDs window on the remote control through the camera display. While pressing one of the buttons (all buttons, except the Mow button), are the LEDs turning red?

If Yes – Proceed to Q5.
If No – A new remote control will need to be sent to you.
Q5 – Check if there is a buildup of dirt, or moisture on the robot’s panel.
If Yes – For moisture, wait a few hours to see if the moisture evaporates. If the moisture does not evaporate by itself, or there is dirt that blocks the Infrared beam, the robot needs to be taken to an Authorized Service Station.
If No – A new remote control will need to be sent to you.
Q6 – You have a Bluetooth remote control. Are you trying to operate the remote close to the robot? (Less than 5 meters distance).
If Yes – Proceed to Q7.
If No – Please use the remote control in the Bluetooth range of the robot, which is about 5 meters from the robot. If the problem still persists, proceed to Q7.
Q7 – Was the Bluetooth remote control paired to the robot any time in the past?
If Yes – Proceed to Q8.
If No – Run the pairing procedure as described below.
Pairing Process
Before pairing the Remote Control, make sure it is unpaired from any other robot by pressing and holding the Safety button for more than 15 seconds. Then, put your Robomow into pairing mode by following the steps for your mower:
- RC Models
- Press the “Settings” button continuously for 3 Sec. P001 is displayed.
- Use the left or right arrow to get to P019. Press OK.
- RS Models
- Press and hold the UP + DOWN buttons on your Robomow.
- Wait for a beep.
- Press the Safety button once on the Remote Control. The Remote Control is now paired with your Robomow.
- There is no need to repeat the process, unless the mower and the Remote Control were unpaired from each other.
If the pairing procedure did not fix the problem, proceed to Q8.
Q8 – Does any button pressed on the Bluetooth remote control cause the robot to react?
If Yes – The robot reacts to the remote commands, but one or more buttons on the remote is/are not functioning. Replace the batteries in the remote control and run the Pairing procedure (as described in Q7). If the remote control still does not function well, a new remote control will need to be sent to you.
If No – Replace the batteries in the remote control and run the Pairing procedure (as described in Q7). Try again to command the robot. If the remote control still does not cause the robot to react, proceed to Q9.
Q9 – Look at the LEDs window on the remote control. While pressing one of the buttons (all buttons, except the Mow button), are the LEDs turning red?
If Yes – The robot needs to be taken to an Authorized Service Station.
If No – A new remote control will need to be sent to you.